Recommended tools
Here are the tools we recommend for changing your bike's tyre:
- A bicycle pump
- A set of tyre levers
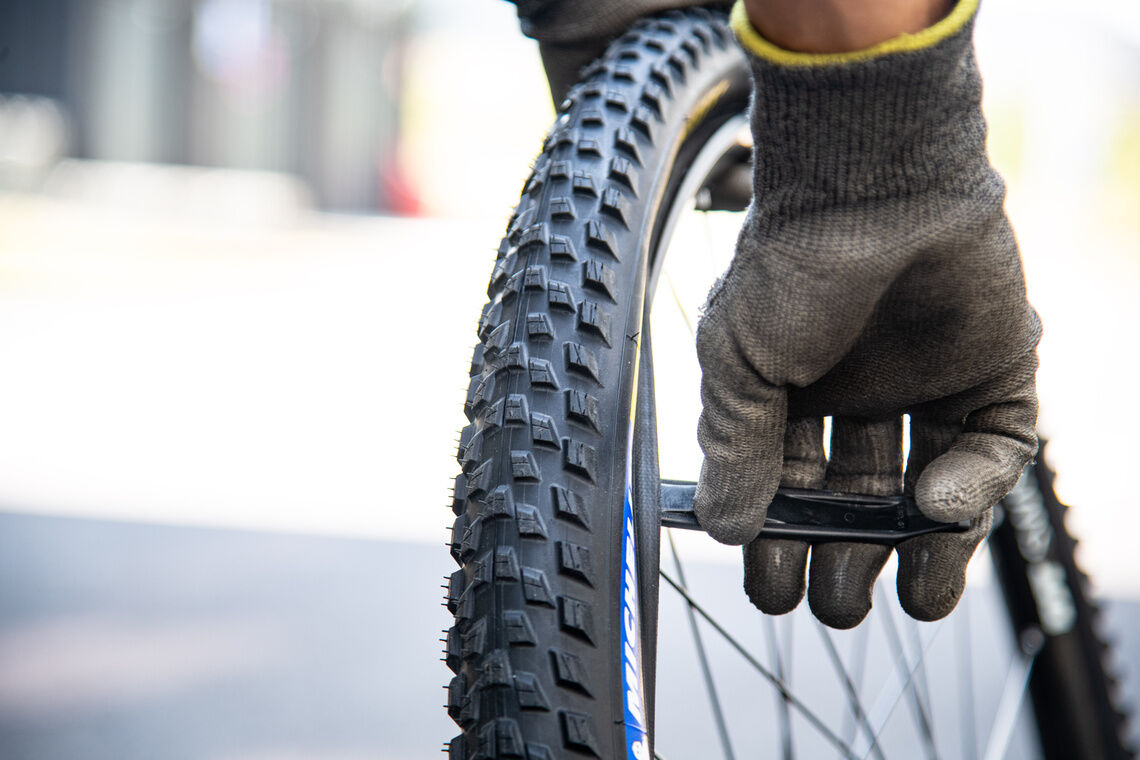
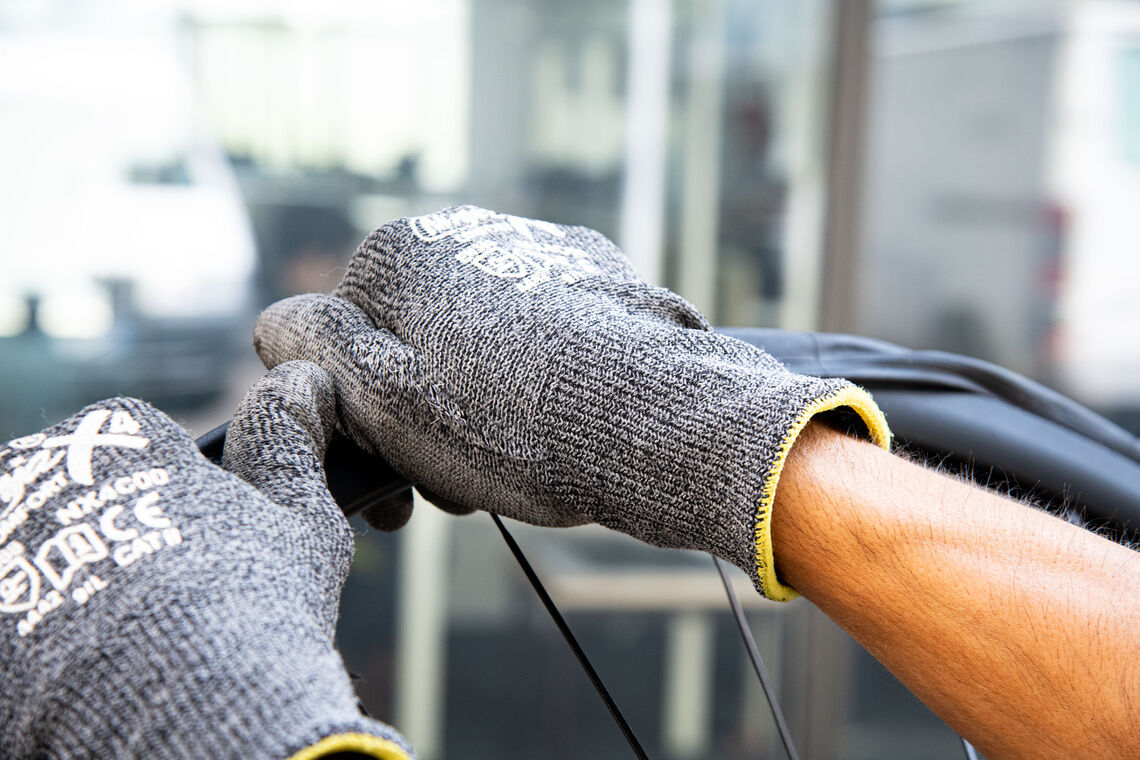
- Gloves to protect your hands
- Goggles to protect your eyes
How to change a tubeless-ready bike tyre?
Here are the steps for changing a tubeless-ready bike tyre:
1 - How to remove a tubeless-ready bike tyre (TLR)?
Remove your bike tyre in a clean, dirt-free place. When changing a TLR bike tyre, drops of sealant can splash onto the surrounding surfaces. Always use the appropriate protective equipment
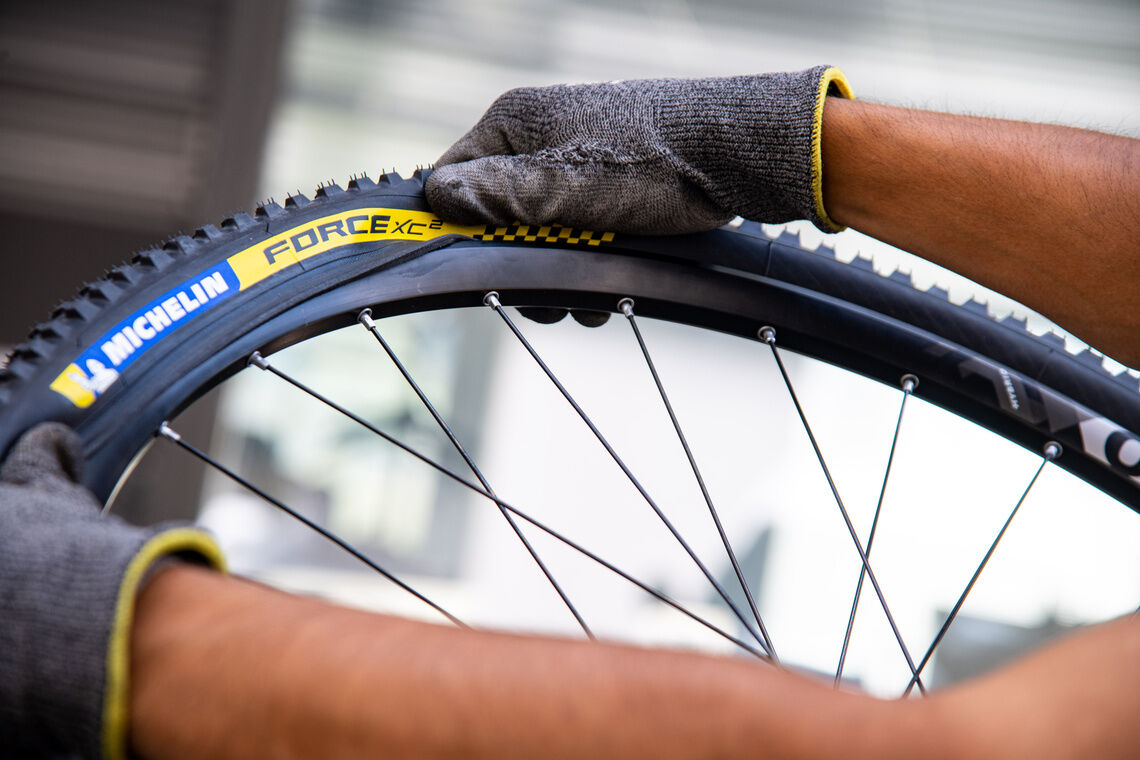
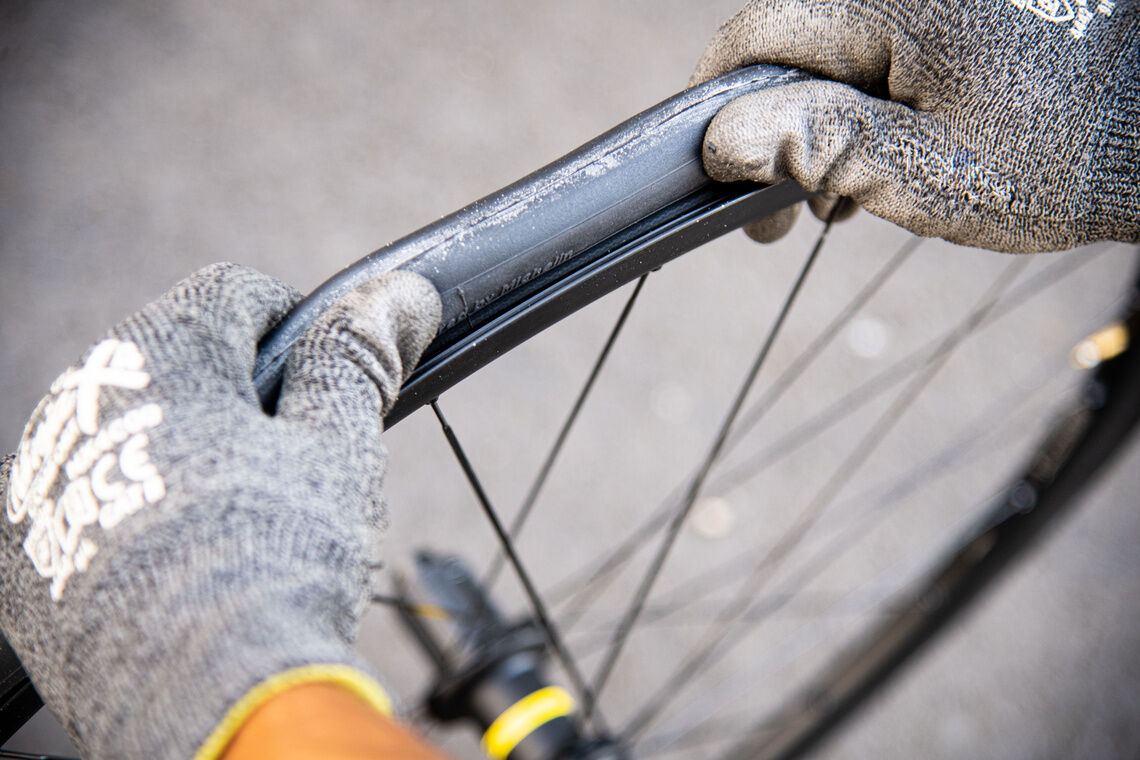
Unclip the tyre from one side of the rim by pushing the tyre bead towards the inside of the rim.

- Carefully position a tyre lever on each side of the valve (about 5 cm away) and use them simultaneously to pull the tyre over the rim hook.
- Slide the tyre levers along the rim to remove the first bead from the tyre.
- Recover the old tyre sealant. If it looks similar to when it was first used (color, viscosity), you can reuse it.
- Now, you can remove the bike tyre from the rim.
2 - How to mount the tubeless-ready bike tyre (TLR)?
A Tubeless Ready tyre can be mounted with or without an inner tube. When mounting a TLR without an inner tube, sealant must be used to ensure an airtight fit.
Tubeless-Ready compatible rims must also be used (check the compatibility with the rim manufacturer). You must also use compatible rim tapes and valves.
Check the state of your Tubeless Ready rim tape. Any TLR compatible rim tape (adhesive or self-positioning) that has come off should be replaced.
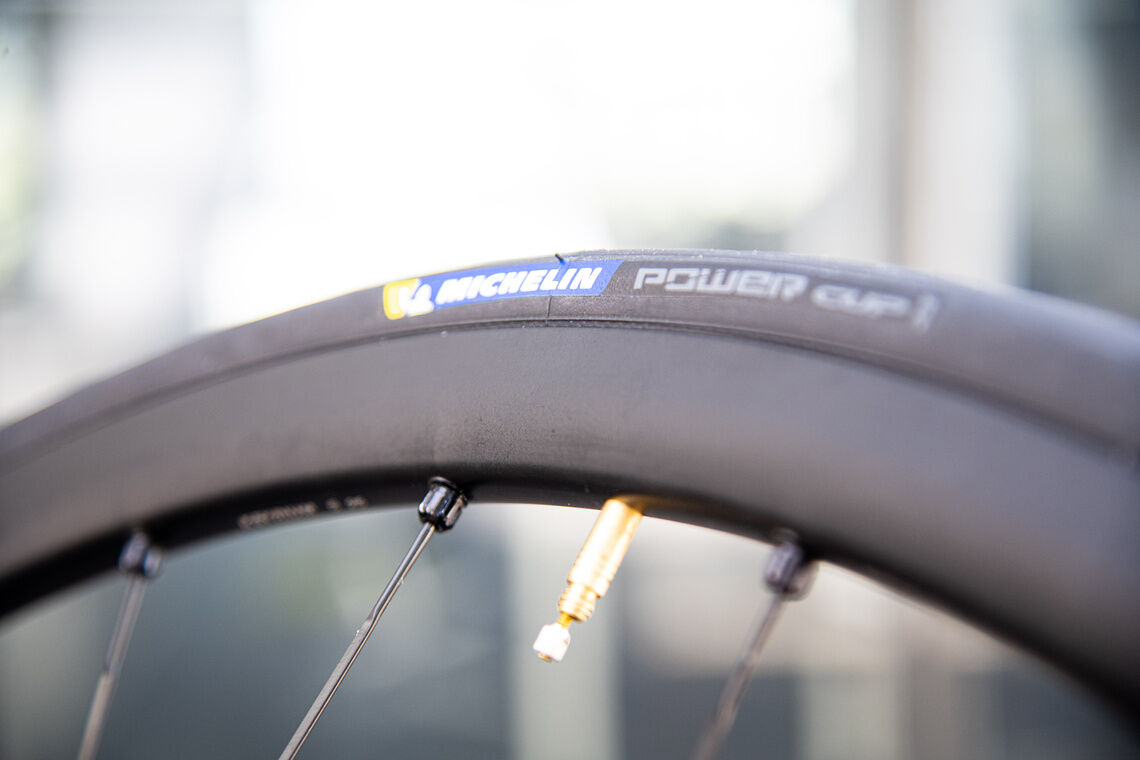
Check the condition of your valve’s rubber base. Check that the valve is tight.
Remove the valve core and check that it is not clogged with sealant.

- Insert the tyre bead into the rim and make sure the tyre-rotation direction matches that of the rim. Start this operation on the side opposite the valve and end at the valve.
- Then insert the second bead, again starting on the side opposite the valve and ending at the valve.
- Inflate your tyre so that the beads are well positioned at the base of the rim. A characteristic «pop» sound may be heard, depending on the type of rims and tyres used.
- Inflate your tyre, without exceeding the maximum recommended pressure indicated on the side of your tyre. (Make sure not to exceed your wheel's maximum pressure, if applicable.)
- When the tyre is mounted, let the air out and add the sealant.
- Put in the amount of sealant recommended by the sealant manufacturer (the amount usually depends on the volume of your tyre).
- Place the core back into the Presta Tubeless Ready valve and inflate your tyre. Adjust the pressure according to your height, weight and riding style.
- Rotate the wheel to help the sealant covers the entire inner surface of the tyre. (A short bike ride will help distribute the sealant evenly throughout the tyre and maximize its sealing action. You should check and adjust the tyre pressure before every ride. Optimum airtightness may be achieved after several days of use (depending on the sealant/tyre combination)).
- Once the wheel is mounted on the bike, it is important to check the position of the brake pads in relation to the rim to avoid damaging the tyre.
Use of tyre sealant
Sealants are usually latex-based and have the added advantage of being able to seal punctures, providing a lasting repair. Unfortunately, these products have a limited life-span.
Why do I need a sealant? Tubeless Ready tyres are not completely airtight. You need to use a sealant to make sure that they are airtight.
Combining a Tubeless Ready tyre and a sealant provides better protection against punctures, and the sealant has a minor impact on rolling efficiency. This is why Michelin only manufactures Tubeless Ready tyres, rather than tubeless tyres, which you may have used in the past and which do not require a sealant.
How do I put sealant in my tyres?
There are two options:
- You can inject the sealant through the valve with a Presta valve that has a removable core. The advantage of this method is that it is cleaner. The sealant is injected when the tyre is already well positioned on the rim.
- The second option is to inject the sealant directly inside the tyre before mounting the second bead.
How often should I add or replace the sealant? Sealant remains effective for only a certain period of time, which depends greatly on the temperature, storage conditions, riding locations & frequencies, etc. After a certain period of time, the sealant dries and turns into a rubber film, or breaks into small pieces.
We recommend that you check and add sealant roughly every 3 months, depending on how often you use your bike.
How to change a tube-type bike tyre?
Here are the steps for changing a tube-type tyre:
1 - How to remove a tube-type bike tyre?
- Unclip the tyre from one side of the rim by pushing the tyre bead towards the inside of the rim.
- Carefully position a tyre lever on each side of the valve (about 5 cm away) and use them simultaneously to pull the tyre over the rim hook.
- Slide the tyre levers along the rim to remove the first bead from the tyre.
- Now, you can remove the bike tyre from the rim.
2 - How to mount a tube-type bike tyre?
- Carefully check the condition of your rim; first remove the rim tape, so you can insect the rim properly. A badly scratched, damaged or cracked rim should be replaced, since it may affect your bike’s performance. A deformed rim should be repaired by a specialist. Make sure the bottom of the rim is clean.
- Start by positioning the rim tape next to the valve hole. The valve can be used to hold the rim tape in position. You can use a tyre lever to help you. New rim tape will protect your inner tube more effectively. If the adhesive rim tape has come off the rim, it must be replaced.
- Insert one of the tyre beads into the rim, starting with the section opposite the valve, and make sure the rotation direction is correct.
- Inflate the inner tube slightly (until it is round) and insert it into the tyre, starting with the valve. At this stage, the tube should be pliable when pressed.
- Then, insert the second bead, again starting on the side opposite the valve and positioning the bead in the base of the rim.
- Proceed around the rim, ending at the valve.
- Inspect around the entire rim, moving the tyre from side to side to make sure it is firmly in place.
- Make sure the inner tube is not stuck under the beads, so it does not get pinched when inflating.
- Inflate the tyre. Do not exceed the maximum pressure indicated on the side of the tyre. If you are using a latex tube, sprinkle talcum powder on it to prevent it from sticking to the inside of the tyre.
- Rotate the wheel to make sure the tyre is properly centered.
- Adjust the pressure according to your height, weight and riding style.
Important notes for changing a bike tyre:
- A badly positioned bead can cause an imbalance.
Once the wheel is mounted on the bike, it is important to check the position of the brake pads in relation to the rim to avoid damaging the tyre.
Some final tips
Knowing how to change a bike tyre is of course essential, but it is also important to ensure that your tyres last as long as possible and perform well. For this purpose, we recommend that you regularly check the pressure of your tyres and make sure that it is within the specifications recommended by the vehicle manufacturer.