Why do I need a tyre sealant?
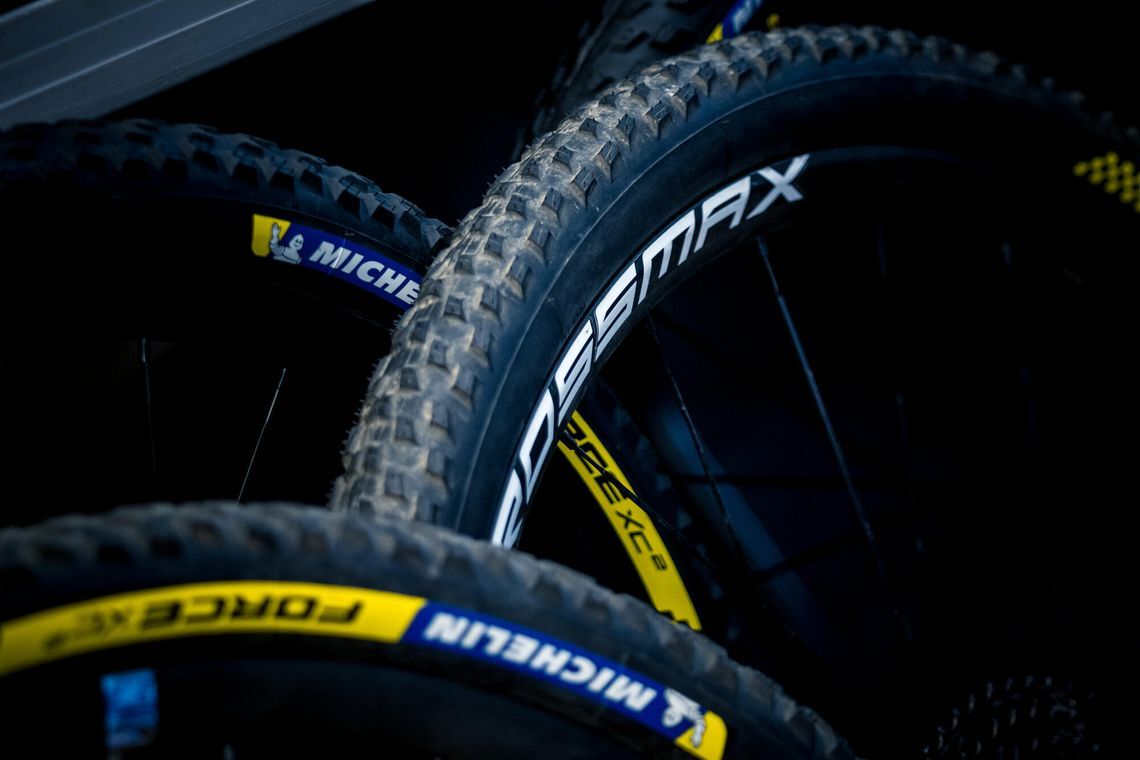
Tubeless Ready tyres are not completely airtight. You need to use a sealant to ensure a good seal. Combining a Tubeless Ready tyre and a sealant provides better protection against punctures and the sealant does not have any negative effect on rolling resistance.
Depending on your type of riding (Road = high pressures vs Gravel & MTB = low pressures), you’ll need to adapt the type of sealant used.
Can I use tyre sealant if I have an inner tube?
Although tyre sealant is mainly used inside Tubeless Ready tyres, it can also be injected in inner tubes to repair small punctures. This is the case with TubeType tyres, but also Tubular tyres. By injecting the sealant into the inner tube, it will plug small perforations and allow you to continue riding.
Note that Michelin has designed an inner tube called MICHELIN Protek Max which already contains tyre sealant. This means you can avoid the potentially messy task of injecting the liquid and enjoy its reparative properties while you're riding. MICHELIN Protek Max comes in two versions, City and MTB.
How do I put tyre sealant in my tyres?

We'll take you through the steps involved in injecting a tyre sealant. But before we start, we should point out that tyre sealants may contain chemicals. Be sure to follow the recommendations for protection (eyes, hands, clothing, etc.) given on the box before handling them. And in the event of accidental spillage of tyre sealant on your clothes, clean up the stain immediately to preserve their lifespan.
1- Check the expiry date
Before using tyre sealant, make sure that the product has not been used beyond the expiry date indicated by the manufacturer. Sealant loses its effectiveness once it has been in contact with the air, particularly after several uses. Using an out-of-date tyre sealant or one that has been used several times is likely to give you a poor experience.
2- Remove the wheel
Although it is not imperative, we recommend that you remove the wheel before injecting. This makes handling easier and allows you to distribute the tyre sealant more evenly.
3- Give the bottle a good shake
Tyre sealant is made up of several components: water and denser particles, e.g. latex or polymer. It may also contain natural or chemical solvents. To ensure that the tyre sealant is effective, it is important to shake the bottle well before injecting it.
4- Unscrew the top part of the valve
Note that the valve can come in two different formats: PRESTA or SCHRADER (also known as “standard valve”.
If you have a PRESTA valve
The top part can usually be unscrewed by hand. Note, however, that on some inner tubes, this part cannot be removed: do not inject any product in this case, as this could block the valve, making it impossible to inflate the tyre.
If you have a SCHRADER valve
A special part called a "core remover" is needed to separate the top part.

5- Inject the tyre sealant
The quantity to inject depends on the volume of the tyre/inner tube combination if you have a Tubetype setup and of the tyre alone if you have a Tubeless or Tubeless ready/TLR setup. Please refer to the information on the product box.
6- Screw back the top part of the valve
7- Shake the wheel
Turn the wheel quickly, shaking it well to ensure that the tyre sealant is distributed evenly and does not obstruct the valve. It is important that you shake the complete setup in all directions (and not only to rotate the wheel on its central axis) to make sure that the sealant can hit all small porosities of the tyre and the wheel, to achieve a complete sealing action.
Should I inflate the tyre to its maximum pressure?
No. Unlike what some people think, inflating your tyre to maximum pressure and letting it rest overnight after injection is not useful to improve the sealing action. Simply inflate the tyre to rolling pressure and shake it well after injection.
Video tutorial
This video shows you how to inject tyre sealant into a tubeless tyre (from 6'11):
HOW TO MOUNT A TUBELESS TYRE ?
How often should I add or replace the sealant?
The tyre sealant only remains effective for a limited period, which depends on a number of factors. After a certain period of time, the sealant dries and turns into a rubber film, or breaks into small pieces. In winter, with greater temperature variations and a more humid environment, the tyre sealant can dilute and become less effective.
We recommend that you check and add sealant roughly every 3 months, depending on how often you use your bike. It is also recommended that you change the tyre sealant every time you change a tyre.
To find out where to dispose of used sealant, whether it can be recycled or not, please refer to the instructions on the manufacturer's box.
Best practices in the event of a puncture
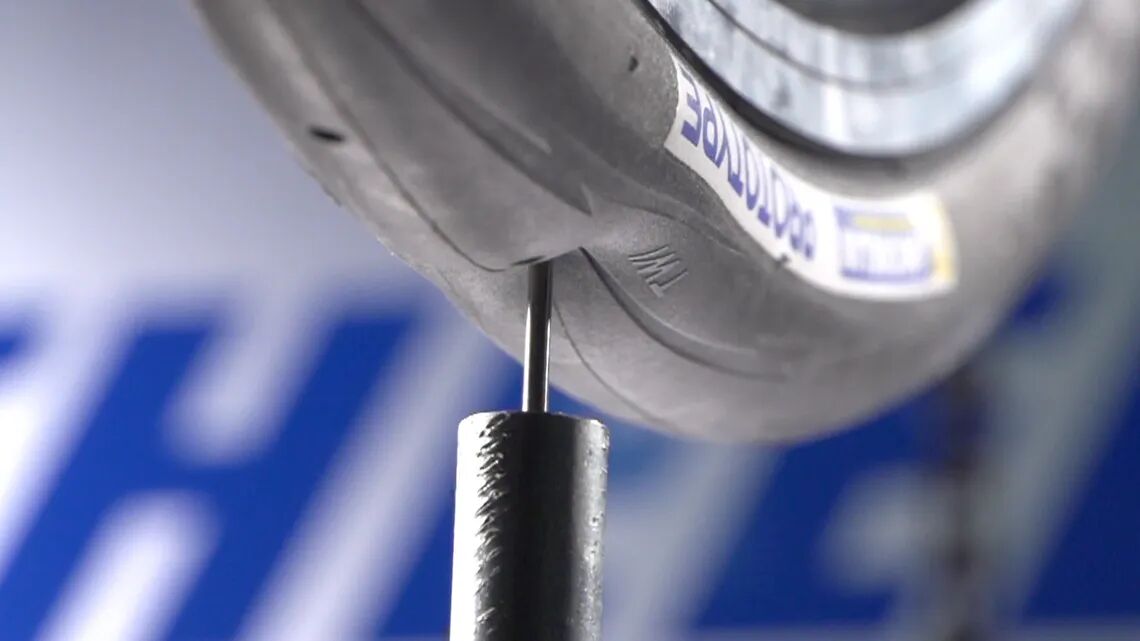
Most tubeless-ready-tyre punctures go unnoticed, since the tyre sealant plugs the puncture almost instantly. However, if the puncture is quite significant, the tyre may lose pressure. In this situation, it is often quite easy to spot the puncture due to the visible presence of sealant. Stop and place the damaged area facing down on the ground so that all your sealant can plug the puncture. Once the zone has been sealed (i.e. no more air is
leaking from your tyre), let the sealant dry for a few minutes before re-inflating your tyre. Re-inflating your tyre immediately often prevents the sealant from properly repairing the puncture due to the high pressure inside the tyre.


